
How to re-pot a fruit tree
2018-05-15T11:25:13+10:00
Okay, time to bite the bullet. If your fruit tree needs re-potting because of poor drainage or the soil is really old, or it’s just not happy, here are the steps to take.
- Find a container that’s slightly bigger than the previous one. If it has no drainage holes, drill a few.
- Add about 100mm of gravel or expanded clay balls (which are lighter) if you’re using a deep, slender container. This prevents the base clogging up under the weight of the mix above it. Cover this with geotextile fabric to separate it from the potting mix.
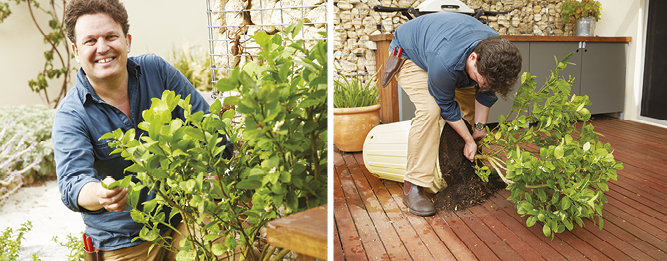
- Prune the fruit tree lightly to reduce the size of the canopy. This reduces the likelihood of it developing plant moisture stress, and makes it easier to handle.
- Lay the plant on its side, slowly and carefully, then gently give it a wriggle and ease it out of the container, taking care not to tear the roots. Scratch away the old potting mix, teasing the roots. This will encourage new roots to grow and reduce the likelihood of the plant becoming root-bound.
- Measure the root ball to ensure it will fit comfortably in the new container. Fill the container with enough potting mix to raise the tree, so the top of the root ball sits about 10cm below the top of the container.
- Cut off any tightly bound or damaged roots, to encourage new, healthy root growth. Place the plant into the container, being careful to keep the root ball intact. Add potting mix to the sides and top of the root ball to fill any gaps, and top with mulch.
- Water in well, taking care to settle the potting mix and flush out any air pockets.
TIP: Before you start, mark the side of the fruit tree facing north and make sure you position the re-potted tree facing the same way. This prevents sunburn on leaves that weren’t facing the sun before.
Photo by Robert Frith/Acorn Photo


